In this tutorial, we are going to cover a web api token based authentication example using JWT in Asp.Net Core 5 using visual studio 2019. So, first-of-all, we will create a new Asp.Net Core 5 web API project and then we will see how to implement Microsoft Identity and then finally we will see how to implement token based authentication using JWT in Asp.Net Core 5 web API app.
If you have a project in Asp.Net Core 3.1 and want to upgrade it to Asp.Net Core 5, then click here to go back to the tutorial where we have discussed it in a very simple example.
Prerequisites
There are some prerequisites for this tutorial. So, before going to next you must install these dependencies below.
- Visual Studio 2019: Click here to download it according to your machine and then install it. Make sure you have installed the visual studio 2019 version 16.8 or later.
- .NET Core 5: Click here to download it according to your machine and install .NET Core 5
- Postman: Click here to download and then install it.
- SQL Server
How to implement token based authentication (JWT) in Asp.Net Core 5 web API?
Let’s start how to implement a web API token based authentication example using Asp.Net Core 5.
Step # 1: How to create Asp Net Core 5 web API using visual studio 2019?
First-of-all, now in this step we will create a new asp.net core 5 web api using visual studio 2019. So, go to Visual Studio 2019 and then click on the Create a new project and then select Asp.Net Core Web Application and then enter the name in the Project name field and then set location of project directory and then click on the Create button.
After clicking on the create button, then you will see a new popup as you do see below in the screenshot. Now, select Asp.Net Core 5.0 from the dropdown and then select Asp.Net Core Web API template and then click on the Create button.
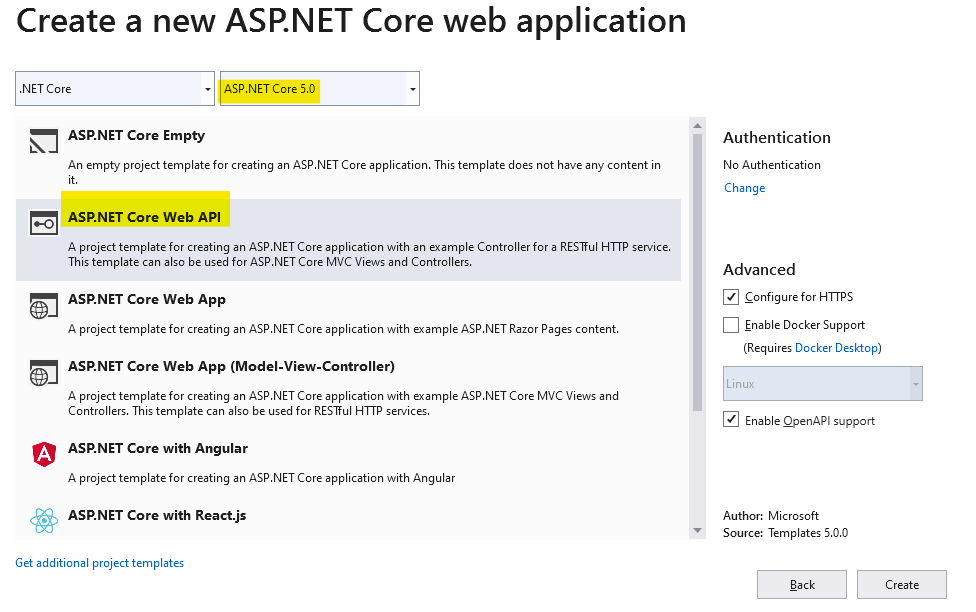
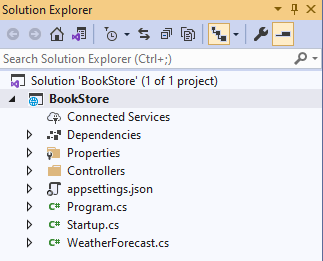
After clicking on the Create button, then you will see a new Asp.Net Core 5.0 Web API project is created with the name of BookStore.
Step # 2: How to setup Database and implement Microsoft Identity in Asp.Net Core 5 Web API project?
Now, in this step, we will setup a new database in Asp.Net Core 5.0 web api project. So, go to the project folder structure and then open appsettings.json file and then add a connection string as you do see in the below file code.
Now, go to the project folder structure and then enter a new folder with the name of Data. Now, we will add some classes related to the databases like ApplicationUser, BookStoreDbContext and etc.
Note: – don’t forget to add libraries.
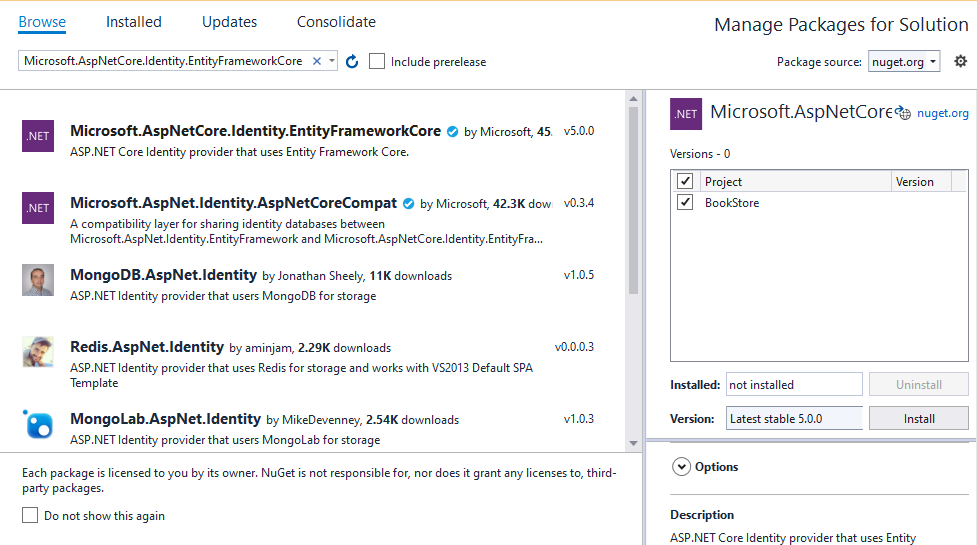
Now, go to NuGet Packages and then search for Microsoft.AspNetCore.Identity.EntityFrameworkCore and then select it and then install as you do see in the below file.
Now, add another class inside the Data folder with the name of BookStoreDbContext and then write the code as you do see below in the file.
Note: – don’t forget to add libraries.
Now, we will add a new seed class which will add a demo data for the user account. So, right click on the Data folder and then click on the Add and then click on the Class and then enter the name of class (E.g. SeedDB) and then write the code as you do see below in the file.
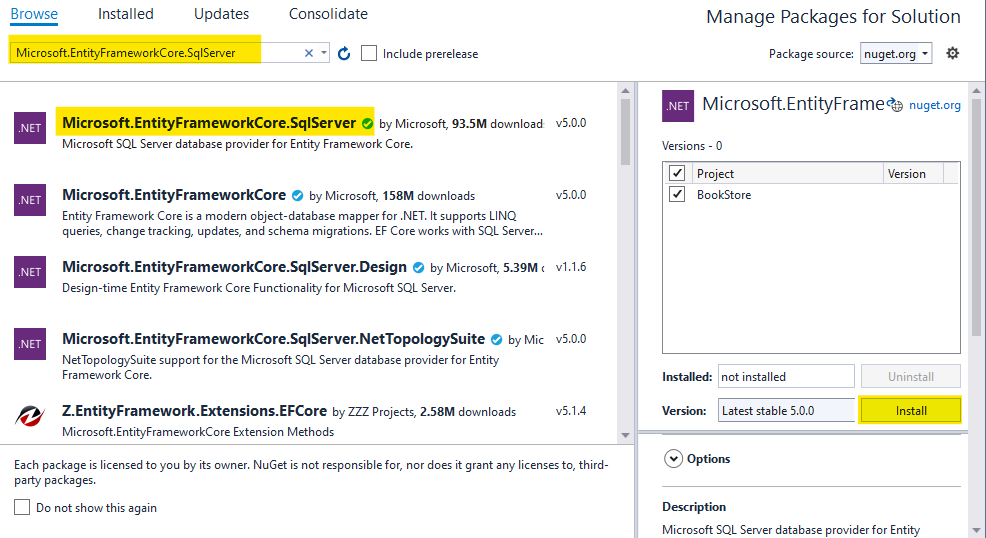
Now, go to NuGet Packages and then search for Microsoft.EntityFrameworkCore.SqlServer and then install it as you do see below in the screenshot.
Now, we will add services to Startup.cs class. So, go to the project folder structure and then open the Startup.cs class and then write the code as you do see in the below file’s line # 33 to 36 and line # 52.
Let’s understand the above code.
Line # 33: In this line, we are adding the service for SQL server db.
Line # 34 to 36: In this line, we are adding service for Microsoft Identity.
Line # 56: In this line, we are initializing the SeedDB class to create a new user.
Add Entity Framework Core Migrations
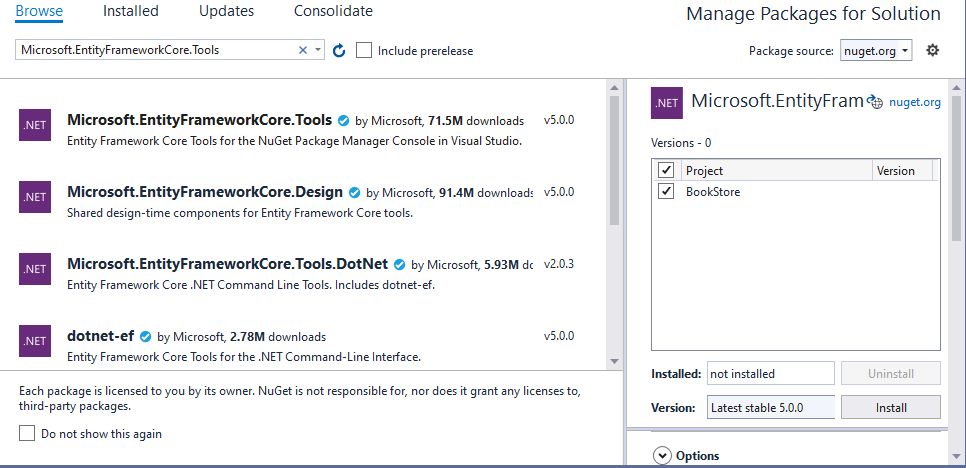
Now, we will run the migration. So, go to Tools and then NuGet Package Manager and then go to Manage NuGet Packages for solutions… and then search for Microsoft.EntityFrameworkCore.Tools and then install it as you do see below in the screenshot.
So, go to Package Manager Console and then run the below command and then you will see the migration folder will be created.
add-migration initial
Now, run below command.
update-database
Now, the database and identity implementation part is completed.
Step # 3: How to implement token based authentication using JWT in Asp.Net Core 5 web api?
Now, in this step, we will see how to implement token based authentication using JWT in Asp.Net Core 5.0 web API.
So, go to project folder structure and then add a new folder with the name of Models. Then right click on the Models folder and then click on the Add and then click on the Class and then enter the name of class (E.g. LoginModel) and then click on the Add button. Now, write some properties as you do see below in the file.
Now, go to the project folder structure and then right click on the Controllers folder and then select Add and then click on the Controller… and then select the MVC Controller – Empty from the middle pane and then click on the Add button and then enter the name of the controller (E.g. AuthenticateController) and then click the Add button. So, it will create a new controller class with the name of AuthenticateController.cs.
Now, write the code as you do see below in the file.
Let’s understand the above code.
Line # 16: In this line, we are declaring the route path for API.
Line # 19: In this line, we are injecting the User Manager.
Line # 30: In this line, we are getting the specific user.
Line # 31: In this line, we are checking the user value and password. If the condition is true, then we will generate the token otherwise it will return an Unauthorized response.
Line # 33 to 37: In this block of code, we are creating claims.
Line # 38: In this line, we are creating the signing key.
Line # 39 to 45: In this block of code, we are generating the token using JWT.
Line # 46 to 50: In this block of code, we are returning the status with token and expiration time after generating the token successfully.
Now, go to the project folder structure and then go to Controllers folder and then open the WeatherForecastController.cs and then just put the Authorize attribute to test the token as you do see below in the file’s line # 11.
Now, we will add authentication service in the startup.cs class as you do see in the below file’s line # 40 to 58 and line # 77.
Test Project
Now, in this step, we will test our project and we will see the output using the postman. So, run your project by pressing f5 or just clicking on the IIS Express.
Now, open the postman and then enter the API path (E.g. https://localhost:44376/WeatherForecast) using the get request and then click on the Send button as you do see below in the screenshot.

After clicking on the Send button, then you will see the out with unauthorized status as you do see below in the screenshot.

Now, we will generate the token using the login method by passing the username and password as you do see below in the screenshot.

If the above login request is generated successfully, then you will see the output as you do see below in the screenshot.

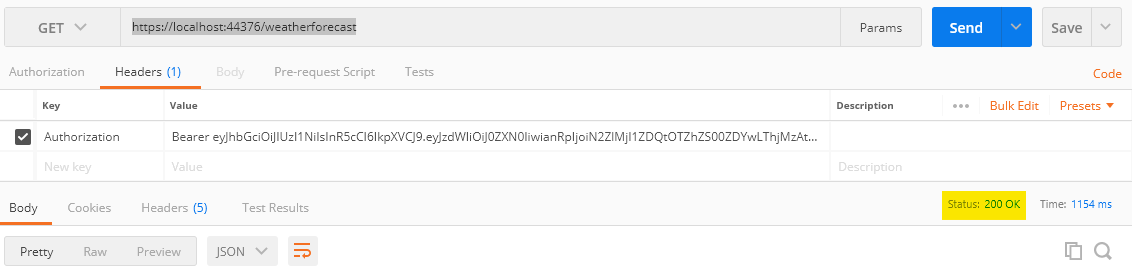
Now, copy the token value and then enter the url (https://localhost:44376/weatherforecast) with Get method and then go to Headers tab and then enter the key (Authorization) and then Value( Bearer <Token Value> ) and then click on the Send button.

After clicking on the Send button, then you will see the output with 200 status code as you do see below in the screenshot.
Congratulation, we have successfully created a web api token based authentication using JWT in Asp.Net Core 5 with Visual Studio 2019
Hi,
Thank you for you article. By the way I would ask you if authentication and authorization can happen by on-premise AD instead of EF?
Maybe you could suggest how to do it, please? ?
Thank you for this tutorial. This is the first token based authentication tutorial that I’ve successfully implemented for a .NET Core 3.1 Web API solution to actually get a token back after building the required authentication controller. I was able to adapt it simply by installing the specified Nuget packages with the latest 3.1.x targeted framework. HOWEVER, I am getting a 401 error when trying to send a request to one of my endpoints whose controller is decorated with the [Authorize] attribute. Any ideas what I could be missing? I’m getting the error when testing with both the Swagger (swashbuckle) UI and via Postman. I followed this guide exactly other than using the .NET Core 3.1 Nuget packages. Any advice would be greatly appreciated!
I have a couple of questions . can you please clarify this?
1. I got a token from the server. I just passed it to someone to use this token. he could able to access the API with the token until it expires. How can we restrict this?
2.I got a token from the server with an expiry time of 15 min. before 15 min I hit token controller and got another token with an expiry time of 15 min. Now I have two tokens with valid time. will the two tokens work? or only the latest one? if so how can we validate?