In this tutorial, we are going to cover how to create an Angular 8 and Asp.Net Core 3 app using visual studio 2019. Now, there are many new features added to Angular 8. We can use Angular SPA template with Asp.Net Core 3.0. So, first-of-all, we will install all the dependencies, and then create a new project using Angular SPA template with Asp.Net Core 3.0 in Visual Studio 2019.
In one of the previous tutorials, we have discussed how to create an Angular 7 and Asp Net Core 2.0 app using visual studio 2017.
Create an Angular 8 and Asp Net Core 3.0 app using visual studio 2019
Let’s see how to create a new project using Angular 8 and Asp Net core 3.0 in Visual Studio 2019.
Step 1: Install all the Dependencies
In this step, we will install some dependencies for our project. So, follow the below point.
Install Node JS:
So, first-of-all, we will install Node Js. So, click here and download the latest version of NodeJs. Because Angular 8 requires Node js latest version or atleast the version 10.
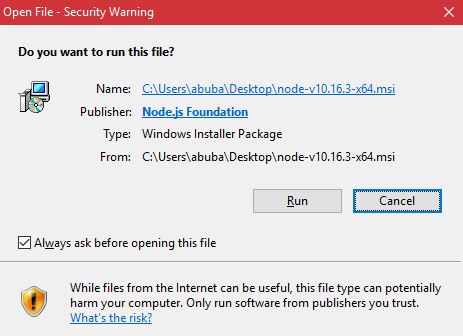
Once the download is complete, run the file as you do see below in the screenshot.
Then after installing the nodejs, now we will upgrade the Angular CLI. So, to do this, just run this below command.
Note: – you can run this below command using command prompt or VS Code terminal. Here i am using VS Code terminal.
=> npm install -g @angular/cli

Note: – It will ask to share to share anonymous usage data with the angular team at google under Google’s privacy policy. If you want to share data, then press “y” otherwise press “N”.

Then it will take some time to upgrade angular version. After upgradation, now you can check the latest version by running the below command.
=> ng --version
Now, you will see the output as you do see below in the screenshot.

Install .Net Core 3
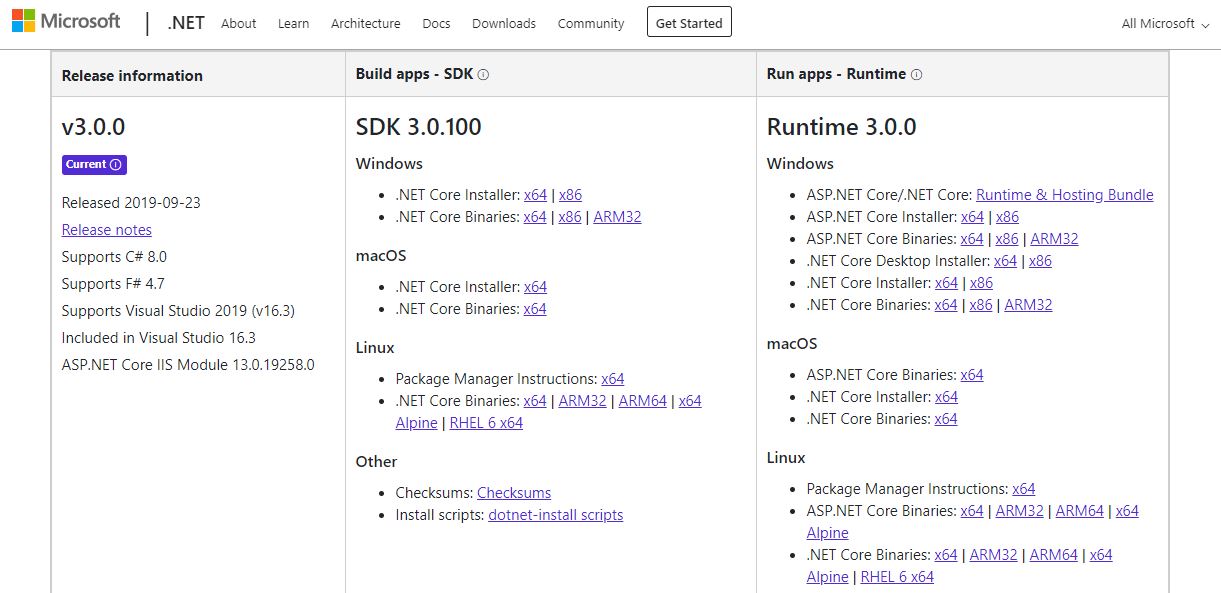
Now, we will install .Net Core 3.0. So, click here to go to microsoft website. Now download the appropriate version. After downloading, run your installer to install the .Net Core 3.0 on your system.
Now, we have installed all the dependencies for our project.
Step # 2: Create an Angular 8 and Asp Net Core 3 app using Visual Studio 2019
Now, in this step we will create an angular 8 and Asp.Net Core 3 app using visual studio 2019. So, follow the below steps.
Go to Visual Studio 2019 and then click on the button “Create a new project” and then click on “ASP.NET Core Web Application” with c# and then click on the “Next” button. And then enter the project name (E.g. Angular8AspNetCore3) and then choose location and then click on the “Create” button. Then you will see the new screen as you do see in the below screenshot.

Now, select the “Asp.Net Core 3.0” from the dropdown and then click on the “Angular” template and then click on the “Create” button as you do see below in the screenshot.
Note: – If you don’t see the “Asp.Net Core 3.0” in your dropdown in visual studio 2019, then install the latest version of visual studio 2019. Because Asp.Net Core 3.0 requires the Visual Studio V16.3 or later. So, upgrade the visual studio 2019 to work with Asp.Net Core 3.0.

Then it will take some time and then it will create a project with Angular 8 and Asp.Net Core 3.0 and you will see the output as you do see in the below screenshot.
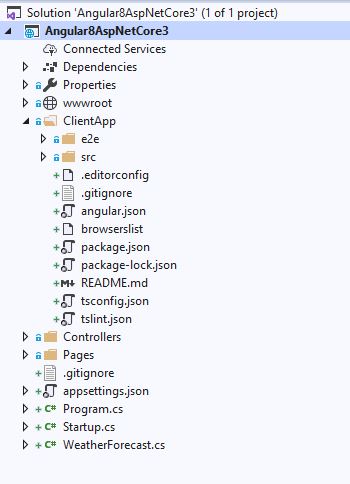
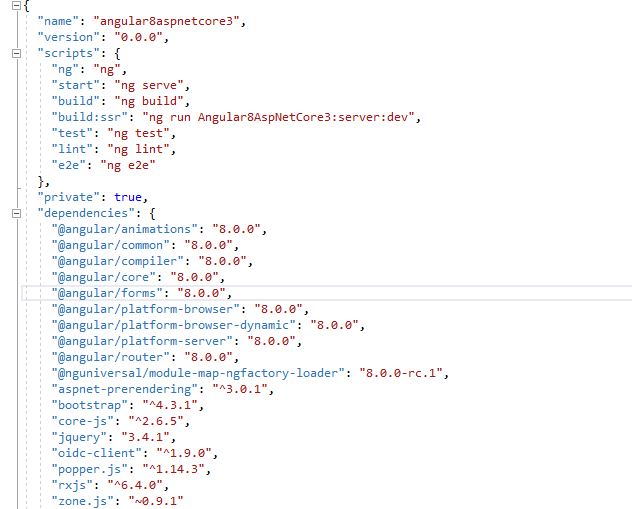
Now, go to project files and then ClientApp and then go to package.json to verify the version of Angular.
Now, run the project and then you might get the output as you do see in the below screenshot.
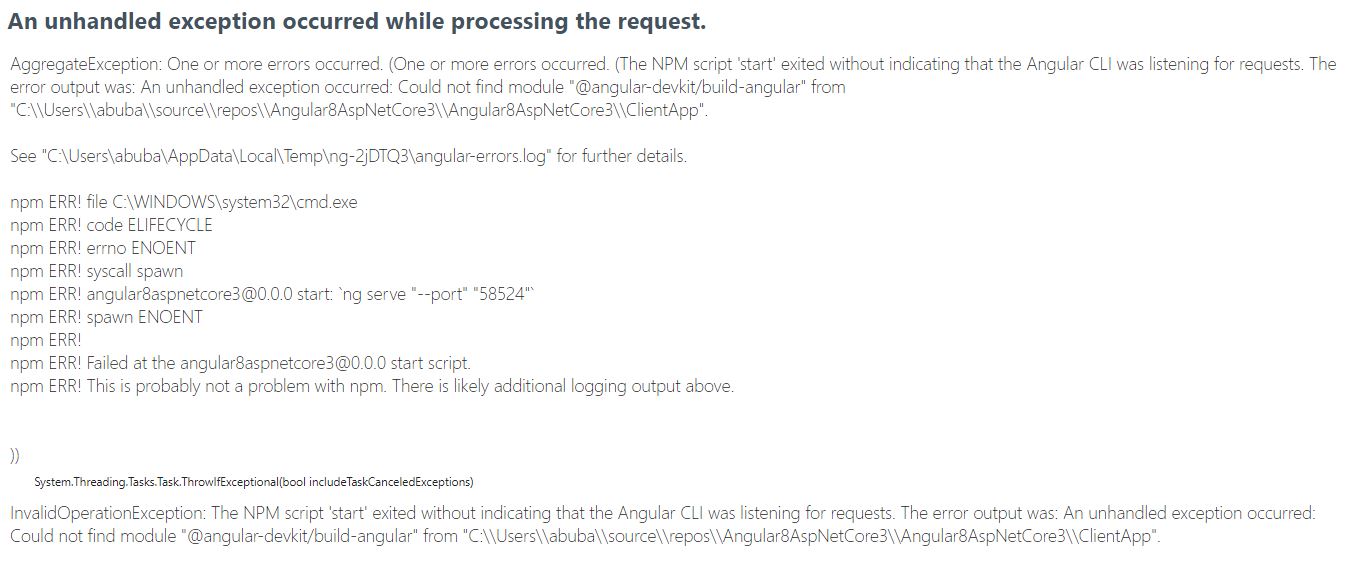
To solve the above problem, go to command prompt and then navigate to the ClientApp folder and then build the project using below command.
=> ng build
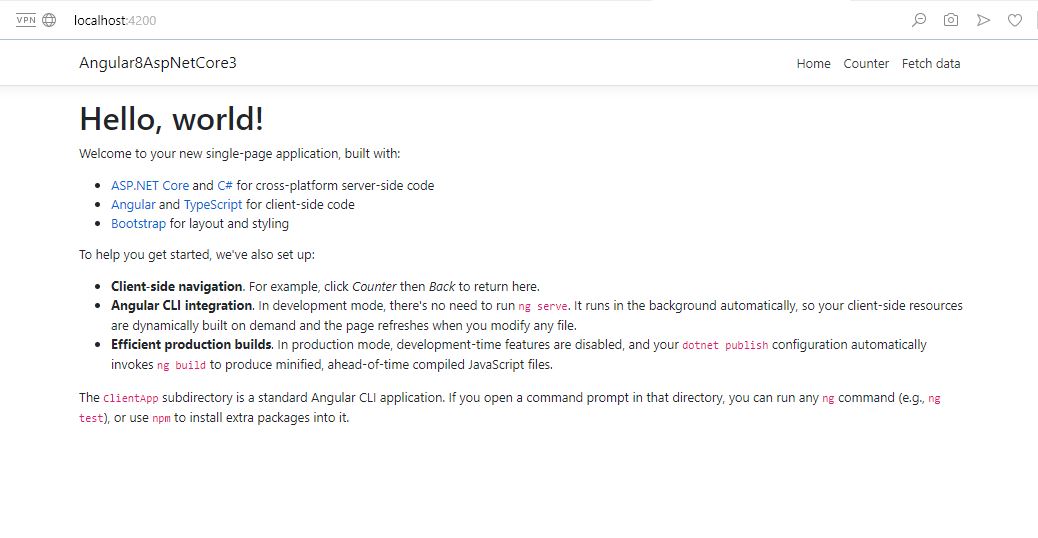
After it is built successfully, now go back to visual studio and then run the project again and then you will see the output as you do see in the below screenshot.
Thank you for reading. Please Keep visiting and sharing this blog within your community!

Hi, how to convert existing .net core 3. application to angular app? I have .net core 3 app, now interested in converting it to angular app, can I do that to the existing app or should I create a new app?
I did follow this tutorial and it works fine in VS2019 and VS Code when using F5.
But after I publish and install in IIS10 or run “ng serve -o”.
The data from the weather forecast doesn’t show up.
The counter works fine and the Home page display fine.
What’s missing?