In this tutorial, we are going to develop a simple “StudentRecord” web application which will perform the complete CRUD operations using Asp.Net Core 2.0 and Reactjs with the help of Entity Framework Core database first approach.
Install some dependencies
Before going to next, you must have installed some dependencies like in below list.
- Install .NET Core 2.0 SDK
- Asp.Net Core
- Node.js and npm (Latest Version)
- Visual Studio 2017
What will you learn in this tutorial?
In this tutorial, you will learn lots of things in this small Reactjs and Asp Net Core 2.0 CRUD web application with step by step.
- How to create a Database?
- How to Create Reactjs and Asp Net Core application?
- Project folder structure
- How to Install nuget Packages for Database?
- How to Add Models?
- How to create Data Access Layer?
- How to add Web API Controller?
- How to create Reactjs components?
- How to define Route?
- How to add Navigation Menu?
How to create CRUD operations using Reactjs and Asp Net Core 2.0 Application?
Let’s start to create a web application which will perform CRUD operations using Reactjs and Asp.Net Core 2.0 with the help of Entity Framework Core database first approach.
Step # 1: How to create a database?
In this step we will create a database. So, open Microsoft SQL Server Management Studio and open a “New Query” window and then run this below command to create a new database.
Now, run this below command to create a table.
Now, after running these above command, you will see a new database has been created with the name of “Student_Db”.
Step # 2: How to Create a React and Asp.Net Core 2.0 application?
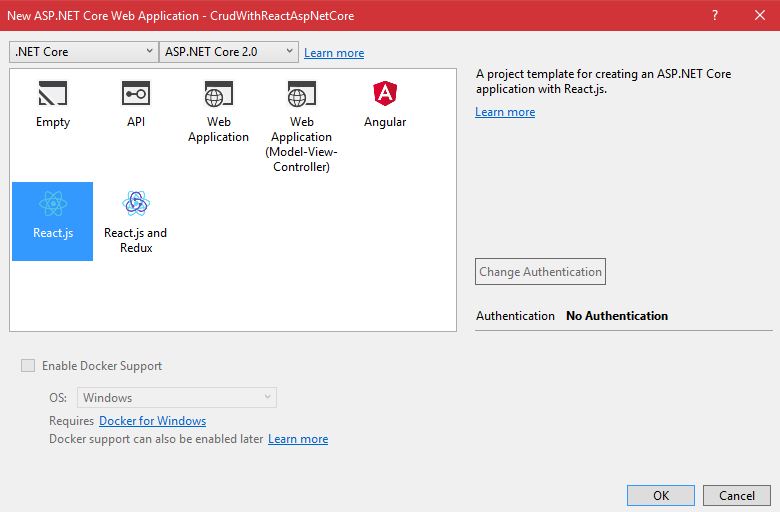
Now, in this step we will create a new project using React.js and Asp.Net Core 2.0. So, open visual Studio 2017 and then go to File and then New and then click on “Project…”. It will open a new popup window with the name of “New Project”. Now, select Web from left pane and then select “ASP.NET CORE Web Application” from middle pane. Then enter name in the Name field and then click on Ok button.

Now, after clicking on OK button, it will open new popup window with the name of “New ASP.NET Core Web Application – CrudWithReactAspNetCore”. Now, select “React.js” template and then click on “Ok” button.
Step # 3: React and Asp Net Core Project Folder Structure
Now, after clicking on “OK” button you will see a new application will be created with the name of “CrudWithReactAspNetCore”.

Step # 4: How to Install nuget Packages for Database?
Now, in this step we will add some nuget packages for the database provider and Entity Framework Tools.
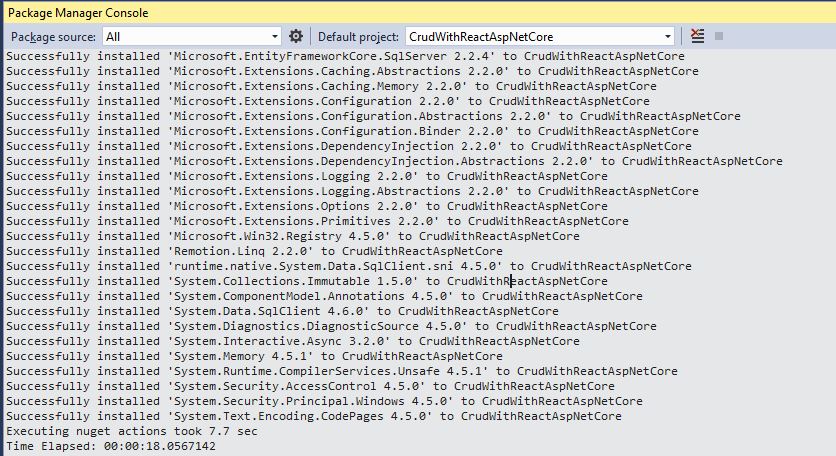
So, go to project manager console and then run this below command to add database provider as you see in the below screenshot.
=> Install-Package Microsoft.EntityFrameworkCore.SqlServer
After sometime, it will install all the required packages as you see in the below screenshot.
Now, run this below command to add Entity Framework Tools.
=> Install-Package Microsoft.EntityFrameworkCore.Tools
After sometime, it will install all the required packages as you see in the below screenshot.

Step # 5: How to Add Models?
Now, in this step we will add create Models using Scaffolding. So, run this below command in package manager console as you see in the below screenshot.
=> Scaffold-DbContext “connection string” Microsoft.EntityFrameworkCore.SqlServer -OutputDir Models -Tables Students
Note: – Make sure your connection string is error free and within the quotes in above command.
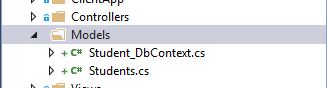
After running successfully this above command, then you will see a new folder “Models” in your project folder structure. And you will see this folder will contain two classes. The one is Student model and the other one is DbContext class.
Step # 6: How to create Data Access Layer?
Now, in this step we will create a Data Access Layer within the Models folder. So, go to project folder structure and then right click on Models folder and then Add and then click on class. And then select Class from middle pane and then write the name of class (E.g. StudentDAL) and then click on Add button as you see in the below screenshot.

Now, open StudentDAL and then write the code as you see in the below file.
Step # 7: How to add Web API Controller?
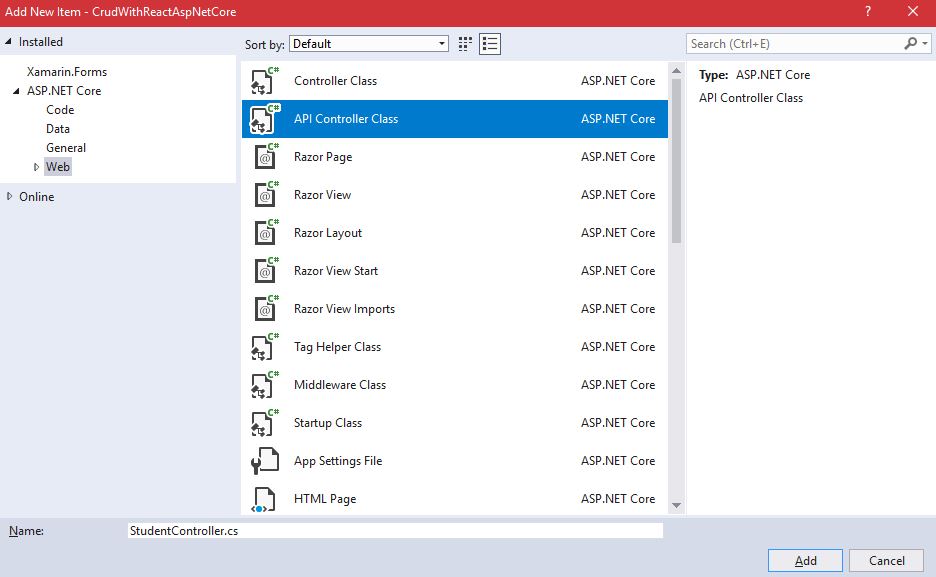
Now, in this step we will create a new Web API. So, go to project folder structure and then right click on Controllers folder and then Add and then click on New Item. Now, select Web from left pane and then select API Controller Class from the middle pane and then enter the name (E.g. StudentController.cs) and then click on Add button as you see in the below screenshot.
And then you will see a new class with the name of StudentController.cs under the Controllers folder. Now, open this newly created class and then write the code as you see in the below file.
Step # 8: How to create React.js component?
In this step, we will see how to create new components in React.js. So, we will add two components.
StudentList: this component will show all the student record.
AddNewStudent: this component will add new student record.
So, go to project folder structure and then right click on the components folder which is under the ClientApp folder and then select Add and then click on New Item. Then select Scripts which is under the Web tab from left pane and then select TypeScript JSX File from the middle pane and then enter the name (E.g. StudentList) and then click on Add button as you see in the below screenshot.
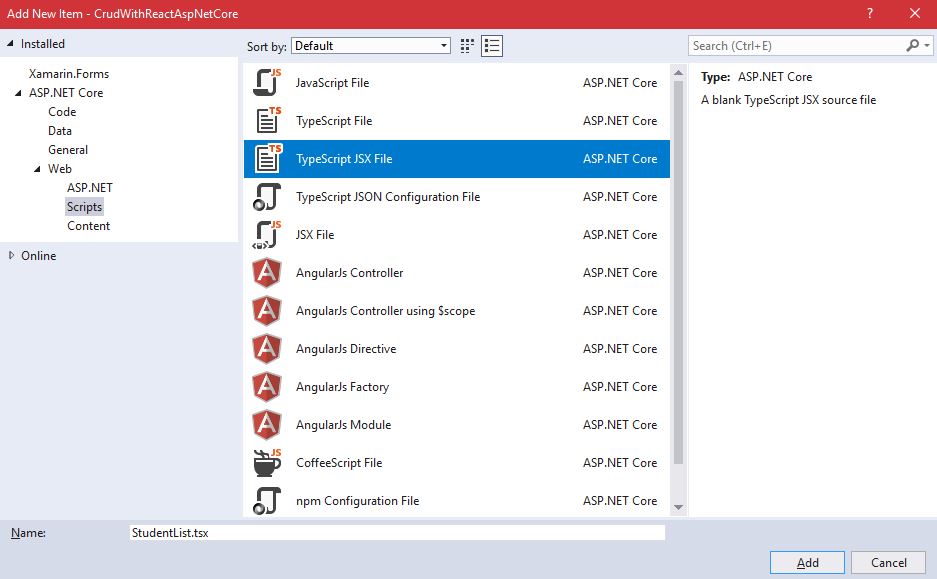
Then it will create a new StudentList.tsx file under the components folder.
Now, add another component with the name AddNewStudent.tsx. It is same as you have seen above.
Now, open StudentList.tsx file and then write the code as you see in the below file.
Let’s understand the above code..
Line # 12: here in this line, we are declaring the StudentList class. And this class inherits the abstract class React.Component.
Line # 15: here in this line, we are declaring the Constructor
Line # 18: here in this line, we are calling the base class constructor using super().
Line # 21: here in this line, we are intializing the interface’s fields using the default values.
Line # 24 to 29: here in this block of code, we are fetching all the student record using web API.
Line # 37 to 48: here in this block of code, this method will render the html onto the DOM.
Line # 40: here in this line, this renderStudentTable method will return the HTML table. And this table will display all the student record.
Line # 50 to 67: this block of code will responsible for deleting the student record.
Line # 70 to 72: this block of code will responsible for editing the specific student record.
Line 75 to 100: this block of code will return the HTML table to display all the student record with edit and delete method.
Line # 104 to 110: here in this block, we are declaring a class which have the same properties as we have in the model class.
Now, go to project folder structure and open AddNewStudent.tsx file and then write the code as you see in the below file.
Step # 9: How to define Route?
In this step, we will define the Route. So, go to project folder structure and then open routes.tsx file and then write the code as you see in the below file.
Step # 10: How to add Navigation Menu?
In this step, we will add navigation menu. So, go to project folder structure and then open NavMenu.tsx file and then write the code as you see in the below file.
Step # 11: Run your project
Now, press f5 to run your project. And then you will see the output as you see in the below output page.

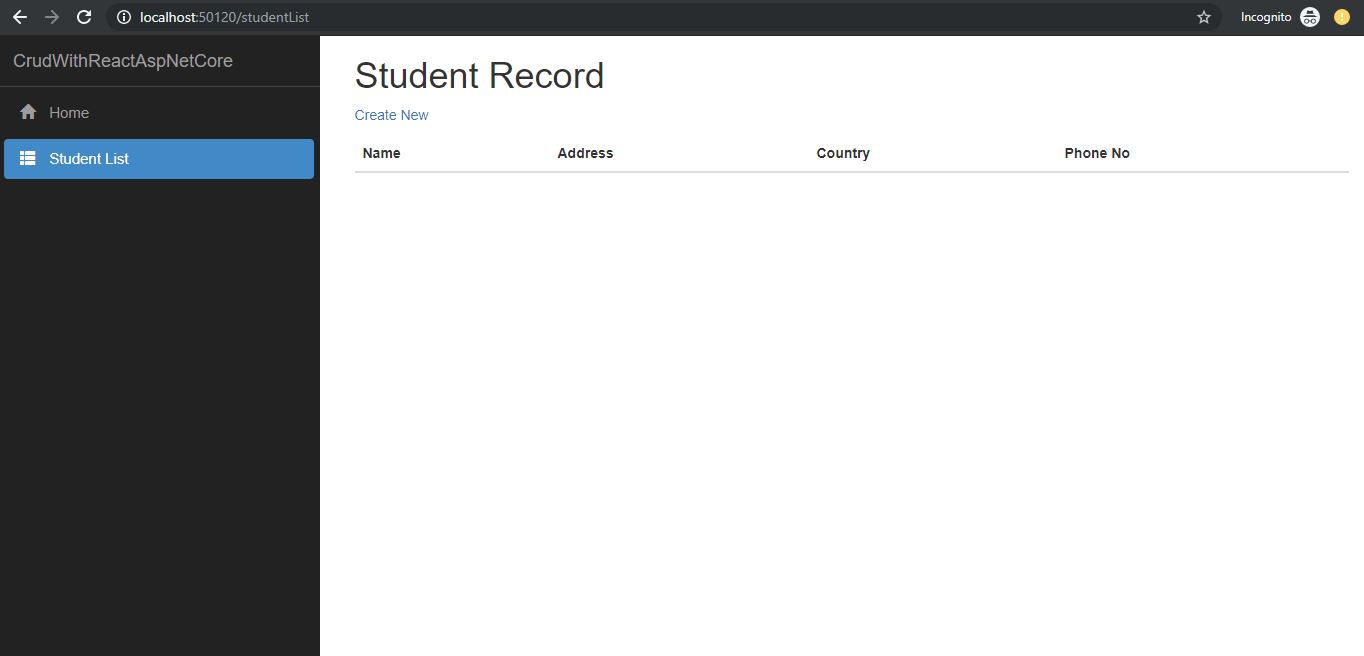
Now, if you click on Student List menu and then you will see the below output page as you see in the screenshot.
And if you click on Create New link, then you will see a new page to create a new record.
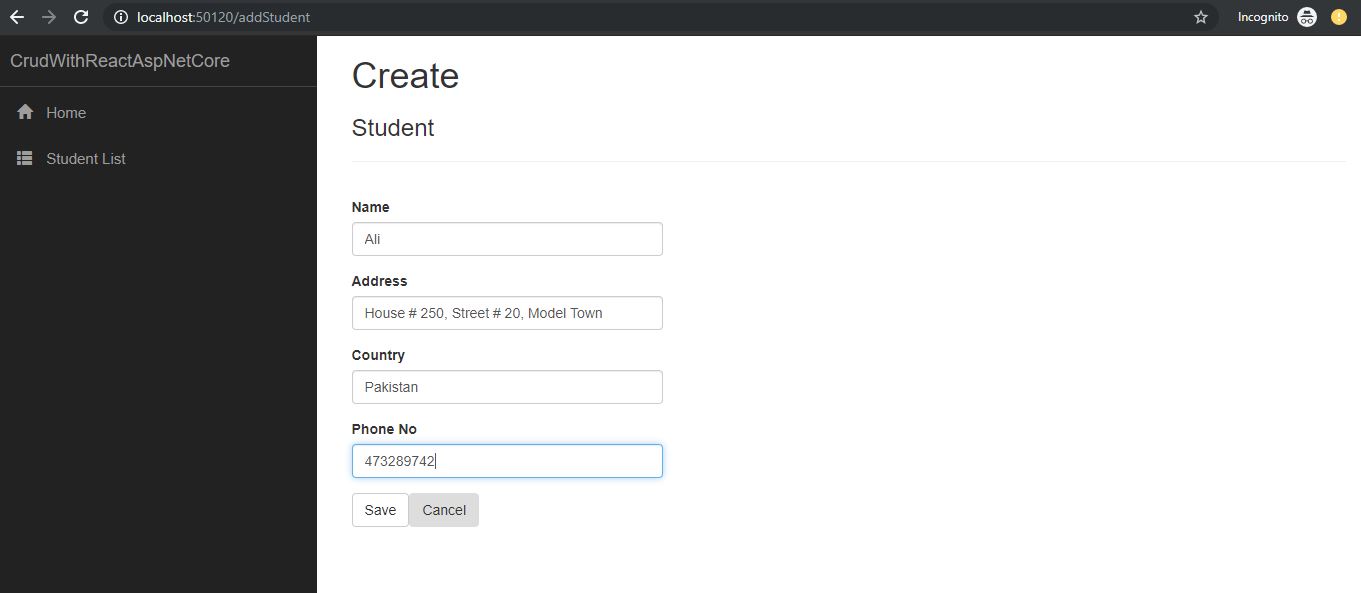
If you click on Save button as you see in the above screenshot, then it will insert the record into the database and then it will show in a list.

If you click on the Delete button and then it will show a new popup for confirmation as you see in the below screenshot.

Conclusion
Congratulation, we have successfully created a React.js and Asp Net Core 2.0 Application with the help of Entity Framework Core database first approach.

Thank you for this great tutorial on asp net core – ReactJS. I followed the approach proposed in the tutorial and it works well. However, I would like to know how to integrate the Datatables into this solution. Can you help me?
This would improve the quality of data presentation.
Thanks in advance